Phoenix, Brunch and VueJS: Part 3

Phoenix, Brunch and VueJS - Part 3: routing with Vue-Router
Client-side routing became a common pattern. So many applications are designed as Single Page Applications, and it requires a system to map page addresses to page components.
VueJS gives us Vue-Router, a tool that allows us to do that client-side URL mapping.
Let’s see how to use it!
Installing Vue-Router dependency
The first step in order to use Vue Router, is to install this new component. We can do that simply installing a new NPM package called vue-router, pretty simple, isn’t it?
phoenix_vue/ $ cd assets
../assets/   $ npm install --save vue-router
After having vue-router installed, using it is a blaze.
Enabling Vue-Router in our Vue application
In order to play with Vue-Router, we need to tell Vue that we are using this new tool.
It is pretty straight forward to do that, first, we import VueRouter in our app.js:
import VueRouter from 'vue-router'
After importing Vue-Router inside our app.js file, we tell Vue to use this new component:
Vue.use(VueRouter)
Now our application is Vue-Router enabled!
A second Hello World component
In order to test Vue-Router, we need to create a new component. Let’s keep it very simple
and build a component similar to Hello.vue component, we created in the previous post.
We will name it: world.vue (and now we have Hello World! Amazing, isn’t it?)
Open a new file assets/js/vue/world.vue:
<template>
  <div>
    <input type="text" v-model="name" placeholder="Your name to yell"></input>
    <button @click.prevent="doYell">Yell my name</button>
  </div>
</template>

<style scoped>
  a {
    color: #AA9080;
    background-color: #2020AA;
  }
</style>

<script>
  export default {
    data () {
      return {
        name: ''
      }
    },
    methods: {
      doYell() {
        var name = this.name.toUpperCase();
        alert(name);
      }
    }
  }
</script>
This is very similar to Hello.vue, but instead of saying, it will YELL. Very creative!
Besides creating this new component, we also need to import it in assets/js/app.js
to make it visible for Vue-Router routes:
import World from './vue/world.vue'
We are done with this new World.vue component, let’s create some routes!
Creating our first routes
Now we have two components, hello.vue and world.vue, we can define some routes
inside Vue-Router, inside assets/js/app.js, after using Vue, let’s define a object
that maps some urls to components:
const routes = [
  {path: '/', component: Hello},
  {path: '/my-hello', component: Hello},
  {path: '/my-world', component: World}
]
These routing rules are pretty basic, we define a default component for / and two urls,
one for each of our Hello.vue World.vue components.
Instancing our Vue-Router
We have two components, we have some routes defined, let’s apply them to our sandbox!
The first step is to instance Vue-Router with our defined routes:
const router = new VueRouter({
  routes
})
With this small piece of code, we are instancing VueRouter with our defined routes, after that, we only need to mount VueRouter somewhere.
Mounting Vue-Router
Mounting in Vue is the act of applying a component in our so loved HTML DOM, we do that
by creating a new Vue instance with our router:
const app = new Vue({
  router
}).$mount('#router-main')
We will be mounting in a new div called #router-main, let’s add this new div
to web/templates/page/index.html.eex:
<h1>Vue-Router playground</h1>
<div id="router-main">
  <router-link to="/my-hello">Hello</router-link>
  |
  <router-link to="/my-world">World</router-link>
  <router-view></router-view>
</div>
Inside this #router-main div, we have two new concepts: router-view and router-link. A router-view is where Vue-Router will place it’s currently routed component. A router-link is a Vue-Router tool to generate their routing links.
Result
We learned how to install, import and use Vue-Router. Also, we created some sample routes
and placed the router-view and some router-links in the sandbox project.
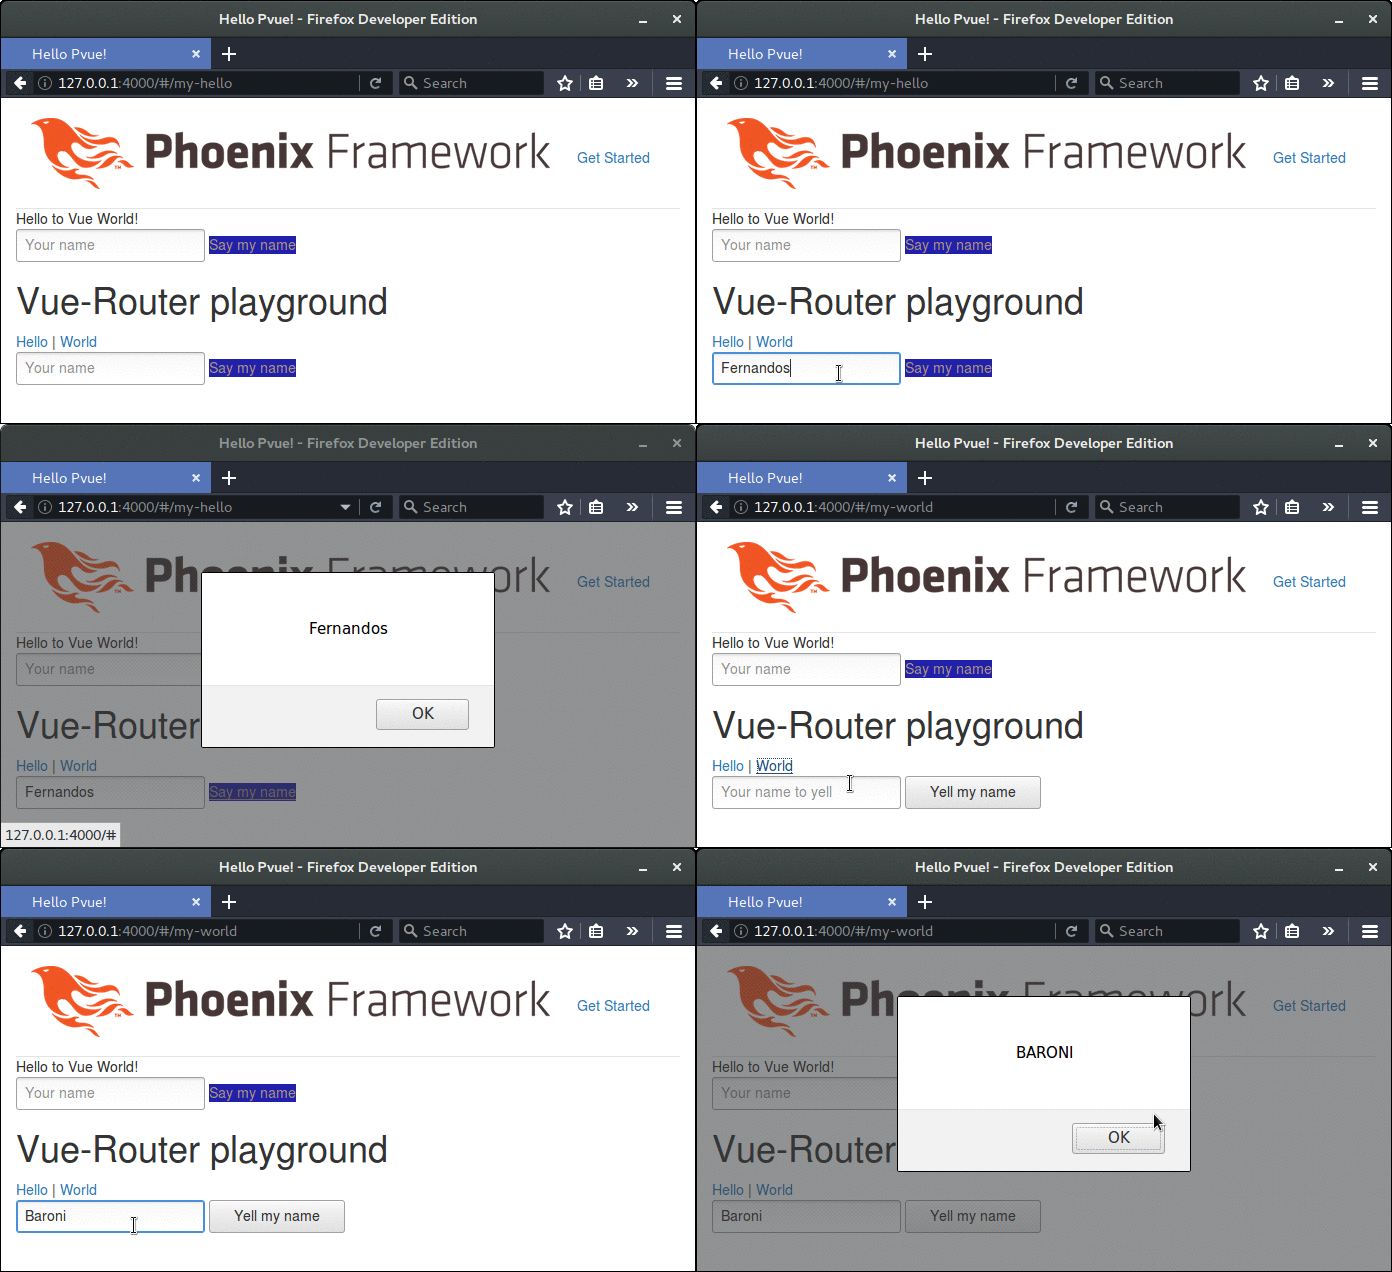
Here is the resulting component displayed in our browser:

GitHub Repository
This guide source code was posted at:
https://github.com/frbaroni/phoenix_brunch_vuejs
Each commit represents one step.