Phoenix, Brunch and VueJS: Part 2

Phoenix, Brunch and VueJS - Part 2: single file vue components
As soon as the application starts becoming huge, with multiple components, pages and views, the development productivity will decrease.
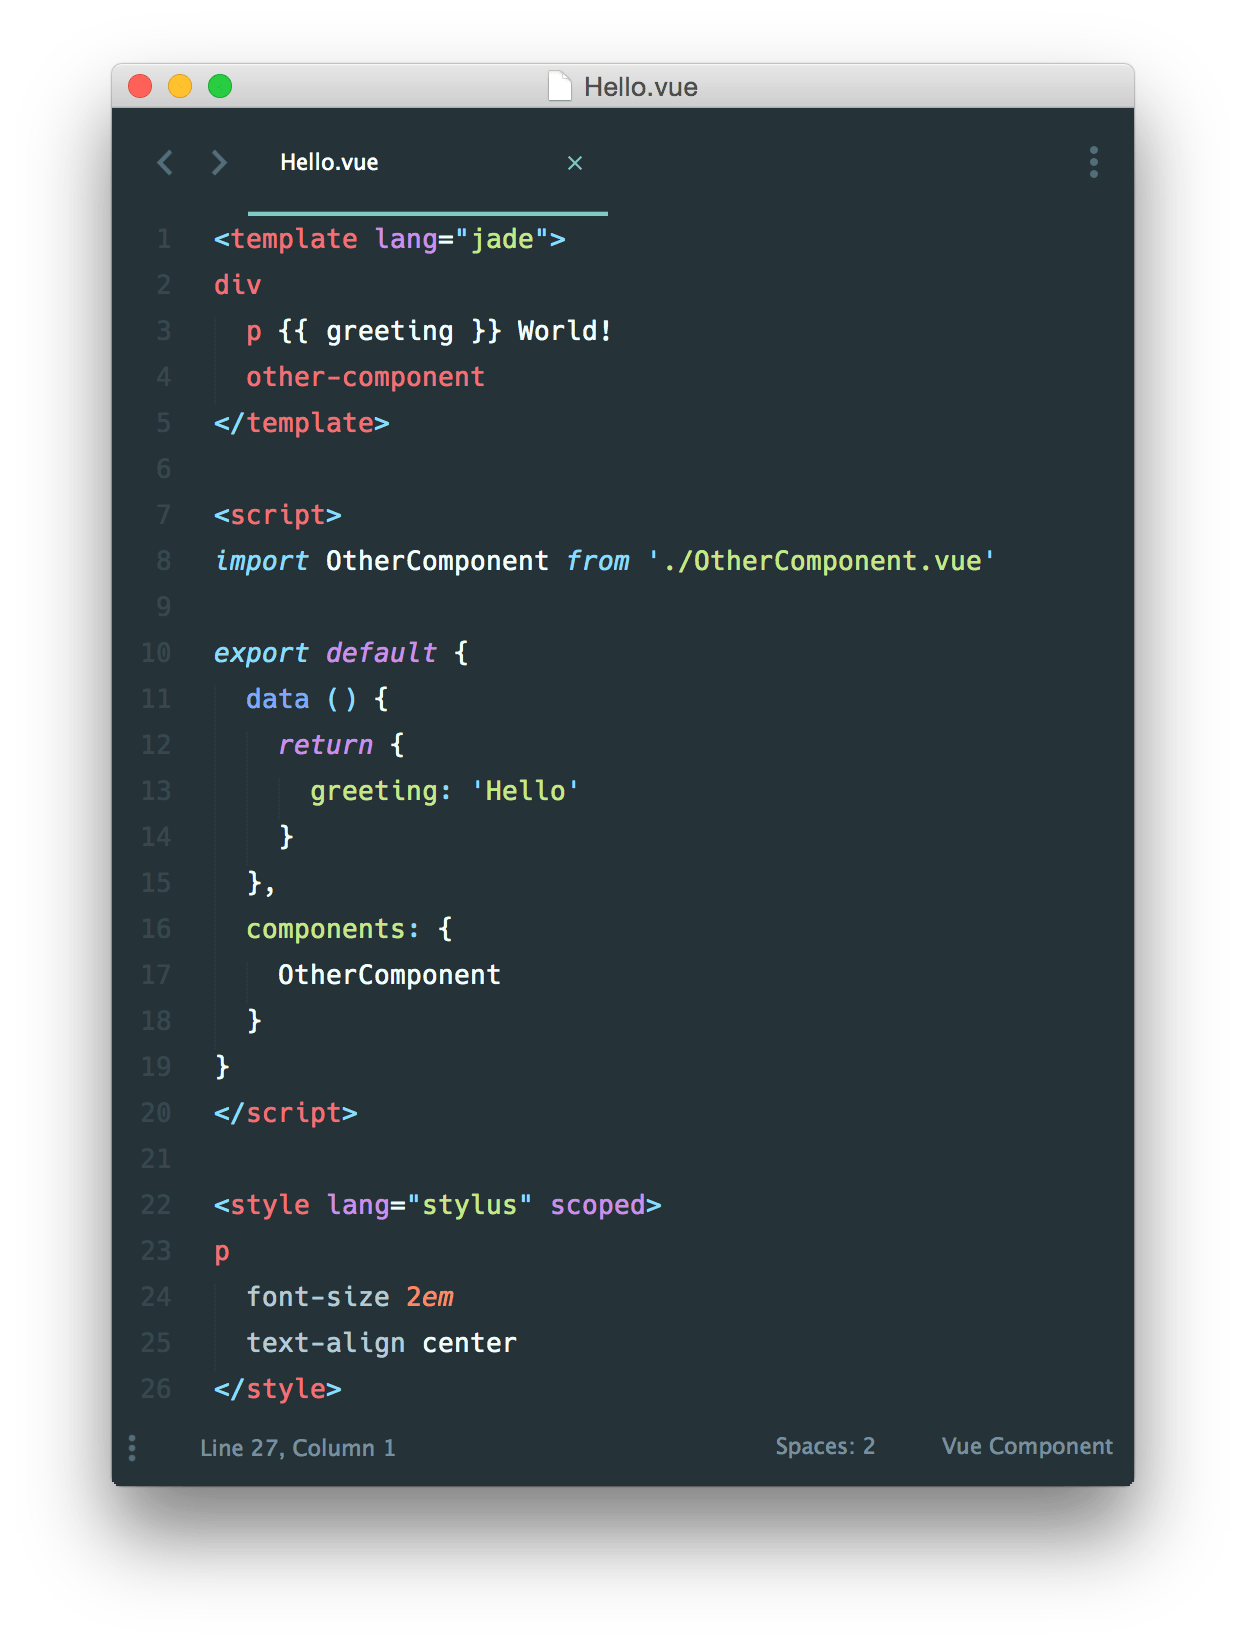
To help with application complexibility, huge projects and big applications, VueJS has a feature called Single File Components.
Single File Components is the way that VueJS uses to organize, re-use and manage components.
Let’s learn how to setup and use them.
Benefits of Single File Components

The benefits of Single File Components are many, we will keep a component style, logic and template together in the same files, making easier to redistribute components and organize our code. Of course, general style rules should have it’ s own file, like a global my-application.css.
VueJS Single File Components are very powerful and flexible, supporting several styling languages like CSS, SCSS, Sass, Less. Their templates can be written using HTML, Jade or even JSX. VueJS doesn’t enforce anything to us, it gives us the power of choose. For custom templates/style engines, we must install their Brunch dependency (normally a NPM package).
For our experiment, we will use simple HTML and CSS in our Single File Components.
Compiling Single File Components
In order to compile Single File Components, we must teach Brunch how to process this new kind of .vue files. Basically, we must install the compiler dependencies: vue-brunch, vueify and babel-plugin-transform-runtime:
phoenix_vue/ $ cd assets
../assets/   $ npm install --save-dev babel-plugin-transform-runtime vue-brunch vueify
We save it as a dev dependency, the final application doesn’t need any compilation logic, this way we save some size. Now, Brunch will know how to treat .vue automatically. Brunch is amazing, isn’t it?
Update: vue2-brunch was deprecated, please use vue-brunch instead!
Testing
Let’s create our first Vue Component, open a new file assets/js/vue/hello.vue:
<template>
  <div>
    <input type="text" v-model="name" placeholder="Your name"></input>
    <a href="#" @click.prevent="doSay">Say my name</a>
  </div>
</template>

<style scoped>
  a {
    color: #AA9080;
    background-color: #2020AA;
  }
</style>

<script>
  export default {
    data () {
      return {
        name: ''
      }
    },
    methods: {
      doSay() {
        var name = this.name;
        alert(name);
      }
    }
  }
</script>
It is important to note that the vue files must reside in assets/js, I created a new directory vue/ just to separate common Javascript files from our Vue components.
After creating our first Single File Component, let’s expose it in our assets/js/app.js, append these lines:
import 'vueify/lib/insert-css'
import Hello from './vue/hello.vue'


new Vue({
  el: '#main',
  components: { Hello }
});
The code is pretty self explained, we are importing our component from ./vue/hello.vue and then we expose our component to a new Vue instance. Let’s add #main and instantiate our Hello component.
We also need to import vueify/lib/insert-css, allowing Vue to insert css into the DOM.
Open lib/{project}/web/templates/page/index.html.eex and append:
<div id="main">
  <hello></hello>
</div>
Update: it is necessary to import vueify/lib/insert-css to enable the inline CSS rules.
Result
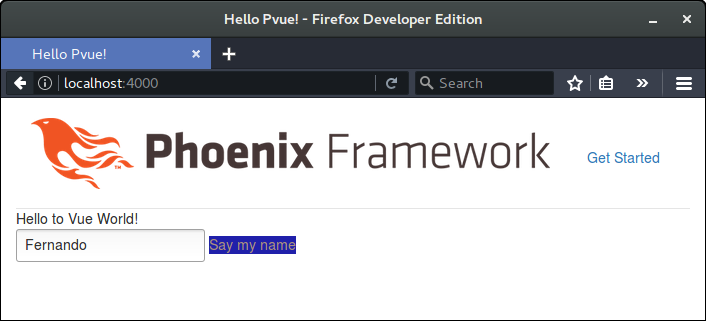
Here is the resulting component displayed in our browser:

GitHub Repository
This guide source code was posted at:
https://github.com/frbaroni/phoenix_brunch_vuejs
Each commit represents one step.
Next step: Vue Router - routing client-side pages
Now we know how to use Single File Components, we could take more advantage of it if we could automatically route our client-side pages into Vue components. This can be done with Vue-Router.